Your refrigerator works hard every day to keep your food fresh. Many people forget about its condenser coils. These coils play a vital role in your appliance’s operation.
Dust and debris buildup on these components forces your unit to work harder. This leads to higher electricity bills and potential performance issues. Regular maintenance prevents these problems.
This guide provides clear steps to help you maintain your refrigerator properly. You will learn how to enhance your appliance’s lifespan and avoid unnecessary repairs. Simple actions can save you money and keep your food at the right temperature.
Key Takeaways
- Regular maintenance of condenser coils improves appliance performance.
- Dust and dirt buildup increases energy consumption significantly.
- Proper cleaning extends your refrigerator’s lifespan by several years.
- This preventive measure helps avoid costly repairs down the road.
- Following our guide ensures better cooling and lower power bills.
- Keeping coils clean maintains optimal temperature for food storage.
- Simple maintenance routines prevent common refrigerator issues.
Why Regular Refrigerator Coil Cleaning Is Essential for Cooling Efficiency
Many homeowners overlook a critical component that keeps their food preservation system running smoothly. The condenser coils work tirelessly to release heat from your unit. When these components get covered in grime, your entire system suffers.
How Dirty Coils Impact Energy Consumption and Performance
Dust and dirt accumulation acts like insulation on your coils. This layer prevents proper heat transfer. Your compressor must work harder to achieve the same cooling effect.
Studies show refrigerators with dirty coils consume up to 30% more electricity. This increased energy use translates directly to higher utility bills. The extra strain also reduces overall system performance.
The Connection Between Clean Coils and Appliance Longevity
When your compressor overworks due to clogged coils, it experiences excessive wear. This strain can lead to premature failure of critical components. Regular maintenance prevents this unnecessary stress.
Research indicates properly maintained units last 3-5 years longer. The simple act of keeping coils clean avoids costly repairs. This preventive approach saves money over your appliance’s lifetime.
Preventing Food Spoilage Through Proper Maintenance
Inefficient cooling creates temperature fluctuations inside your unit. These inconsistencies jeopardize food safety and freshness. Items may thaw partially then refreeze, damaging quality.
Clean condenser coils maintain stable temperatures throughout. Your frozen goods stay properly preserved. Fresh items maintain their optimal storage conditions.
Regular attention to these components ensures reliable operation. You protect both your investment and your family’s food supply. Simple maintenance makes a significant difference.
Preparing for Safe and Effective Refrigerator Coil Cleaning
A systematic approach to preparation makes coil maintenance both safe and effective. Proper setup prevents accidents and ensures optimal results. This phase requires attention to detail and the right equipment.
Essential Safety Precautions: Unplugging and Securing Your Appliance
Always disconnect your unit from the electrical outlet before beginning any work. This critical step prevents electrical shocks and potential injuries. Never attempt maintenance with power connected.
Move the appliance carefully away from the wall to create working space. Ensure the floor is clean and dry to prevent slipping. Protect your flooring from scratches during movement.
Complete power disconnection forms the foundation of safe maintenance procedures. This simple action protects both you and your equipment from harm.
Identifying Your Coil Location: Back-Mounted vs. Bottom-Mounted Units
Older models typically feature condenser components on the rear surface. These are visible when you pull the unit away from the wall. Newer designs often place them underneath behind a protective panel.
Consult your owner’s manual for specific location details. Different brands may have unique access points. Knowing your model’s design saves time and effort.
Look for a grille or kick plate at the base for bottom-mounted systems. Back-mounted types are usually exposed once you move the appliance. Proper identification ensures you access the correct area.
Gathering the Right Tools: Brushes, Vacuums, and Protective Gear
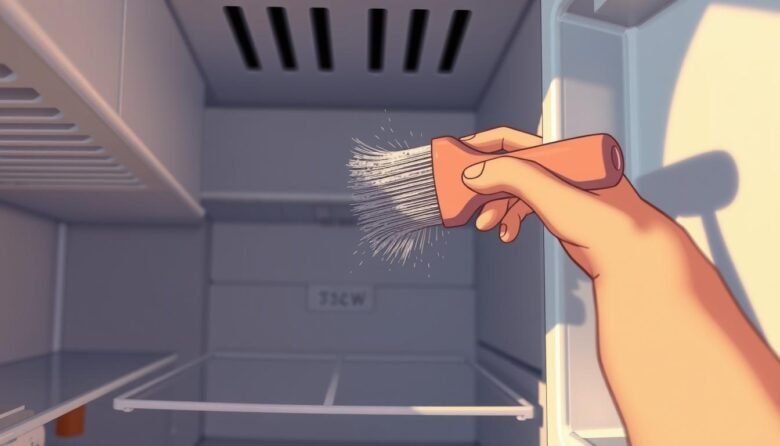
Collect a soft-bristle brush designed for delicate coil fins. A vacuum cleaner with brush attachment helps remove loose debris. These tools prevent damage to sensitive components.
Wear a dust mask to avoid inhaling particles during the process. Use gloves to protect your hands from sharp edges. Safety glasses provide additional eye protection.
Keep a flashlight handy for illuminating dark spaces. Have a clean cloth ready for final wiping. Organize your tools before starting for maximum efficiency.
Proper tool selection contributes significantly to successful maintenance outcomes. The right equipment makes the job easier and more effective.
Step-by-Step Guide to Proper Fridge Coil Cleaning Techniques
Professional-grade cleaning delivers immediate improvements in your appliance’s function. Following these methods ensures thorough debris removal without damaging sensitive components. Proper technique maintains your unit’s optimal operation.
Accessing and Removing Protective Grilles and Kick Plates
Locate the protective cover at your unit’s base or rear section. Most panels snap off easily with gentle pressure. Some models require screw removal using a standard screwdriver.
Work carefully to avoid breaking plastic tabs or connectors. Keep all fasteners organized for reassembly. Proper access ensures complete cleaning of all components.
Vacuuming and Brushing Methods for Optimal Debris Removal
Use your vacuum’s soft brush attachment for initial dust removal. Move the tool gently across the coil surfaces. This prevents bending the delicate fins during cleaning.
Follow with a soft-bristle brush working along the fin direction. Apply light pressure to dislodge stuck particles. Avoid aggressive scrubbing that could damage the metal.
Complete the process with a final vacuum pass. This captures any remaining dust and dirt. Multiple approaches guarantee comprehensive debris elimination.
Final Cleaning and Reassembly for Immediate Performance Improvement
Wipe the surrounding area with a microfiber cloth after coil cleaning. This prevents quick dust reaccumulation on freshly cleaned surfaces. Address stubborn grime with a damp cloth using mild soap.
Clean the condenser fan near the coils using the same methods. Ensure all components are completely dry before reassembly. Secure all panels and grilles properly to maintain system integrity.
Restore power and monitor temperature performance over several hours. Proper reassembly ensures immediate operational improvements. Your unit should demonstrate enhanced cooling capability.
Maintaining Optimal Refrigerator Performance After Cleaning
Post-cleaning practices maintain your appliance’s optimal function. Establish a regular maintenance schedule for lasting results.
Clean condenser components every six to twelve months. Increase frequency to every four to six months with pets or high dust levels.
Set your refrigerator temperature between 37°-40°F. Keep your freezer at 0°F for best results.
Check door seals regularly for tight closure. This prevents air leaks and temperature fluctuations.
Position your unit slightly away from walls. This ensures adequate airflow around the appliance.
Monitor temperature consistency and keep the surrounding area clean. Regular attention prevents future issues and extends service life.
Schedule maintenance reminders to stay on track. This comprehensive approach protects your investment long-term.

Ava Harrington is a home improvement writer and DIY enthusiast with over eight years of hands-on experience maintaining, renovating, and documenting residential properties across the United States. She writes practical, no-fluff guides on home care, preventive maintenance, and everyday repairs — helping homeowners protect their properties without overspending or overcompleting.